 Jeez, that’s a long title. But sums it up pretty well 🙂
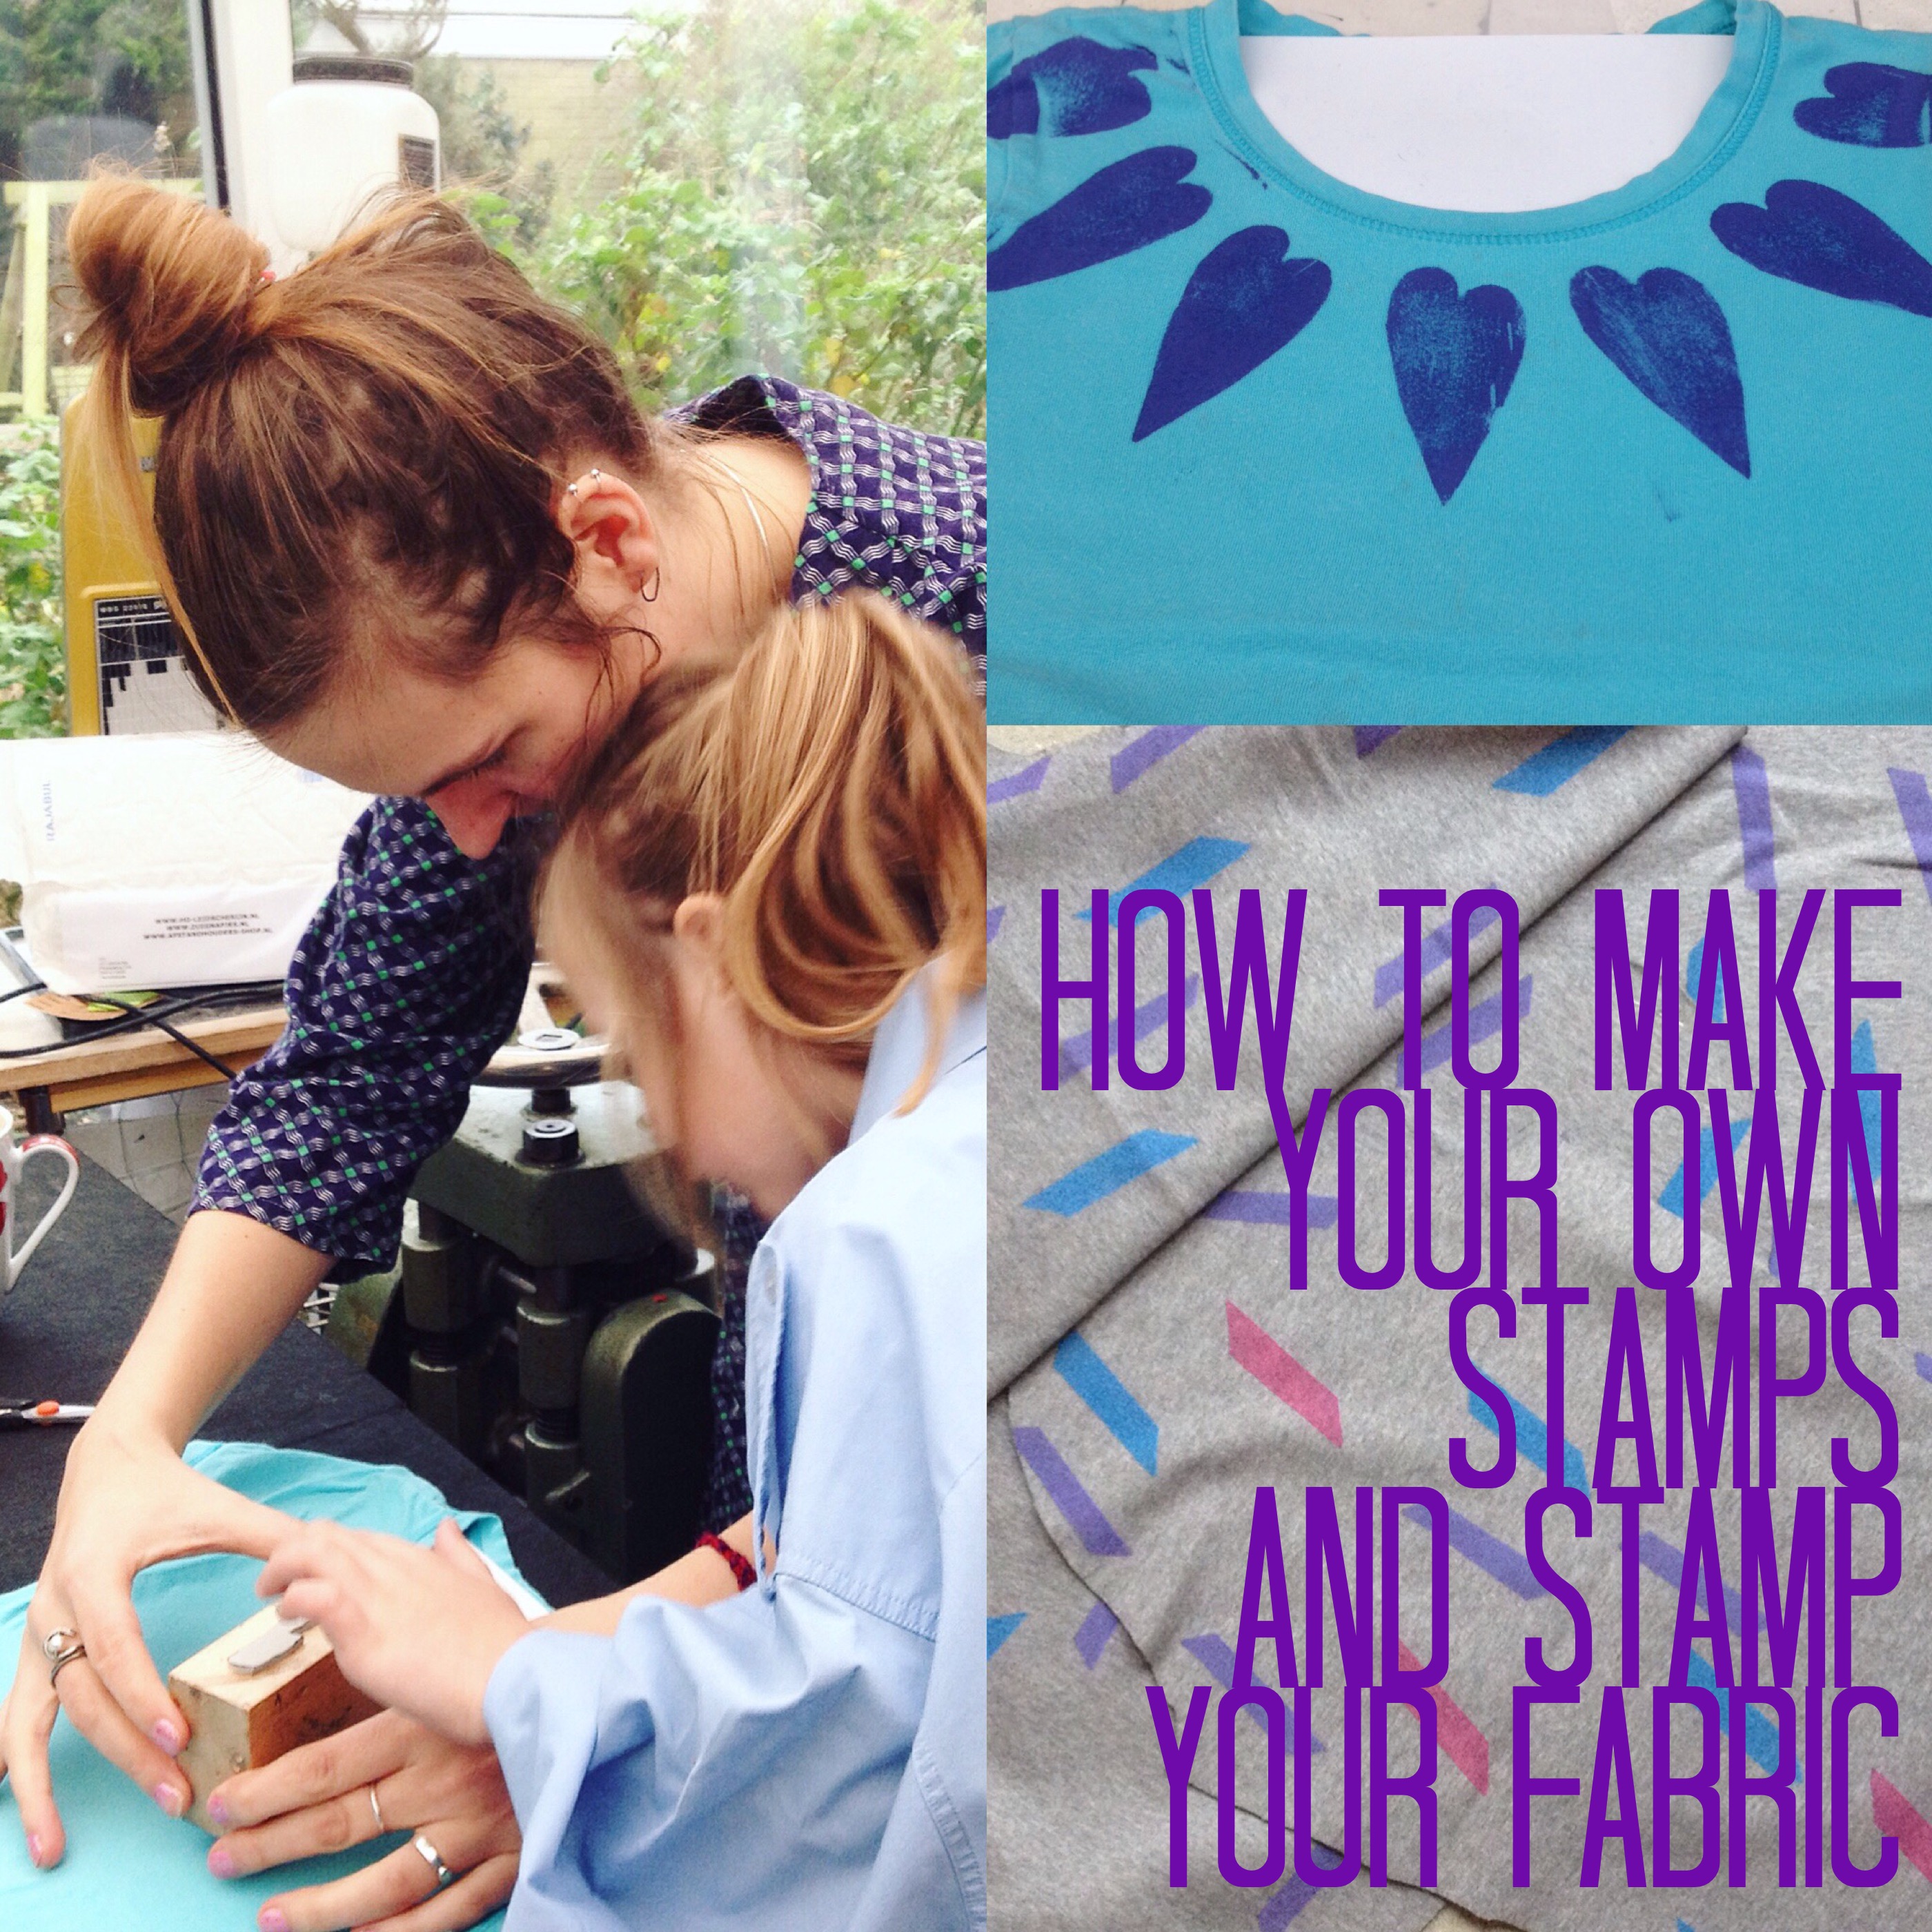
This is superfun to do with your kid!
(or alone, because who need kids for fun stuff: I enjoyed it tremendously)
Your own drawings (designs!) on your t-shirts, dresses, table clothes, leggings, handkerchiefs, quilts, beddings, dishclothes, cardigans.. I think you get the picture.
After sewing for some time with ready made fabric, Iwanted to be even more special. (special snowflake alert). Because why limit yourself to choosing patterns and fabric, when you can design your own fabric? ooooh, the possibilities!
 What do you need?
*pen & paper
*scissors
*hobby foam (hobby rubber it’s called in the Netherlands)
*small (wooden) blocks
*double-sided tape
*non permanent spray glue
*carton board/ A4 paper
*textile paint
*paint roller
*and off course: fabric
 How to make the stamps
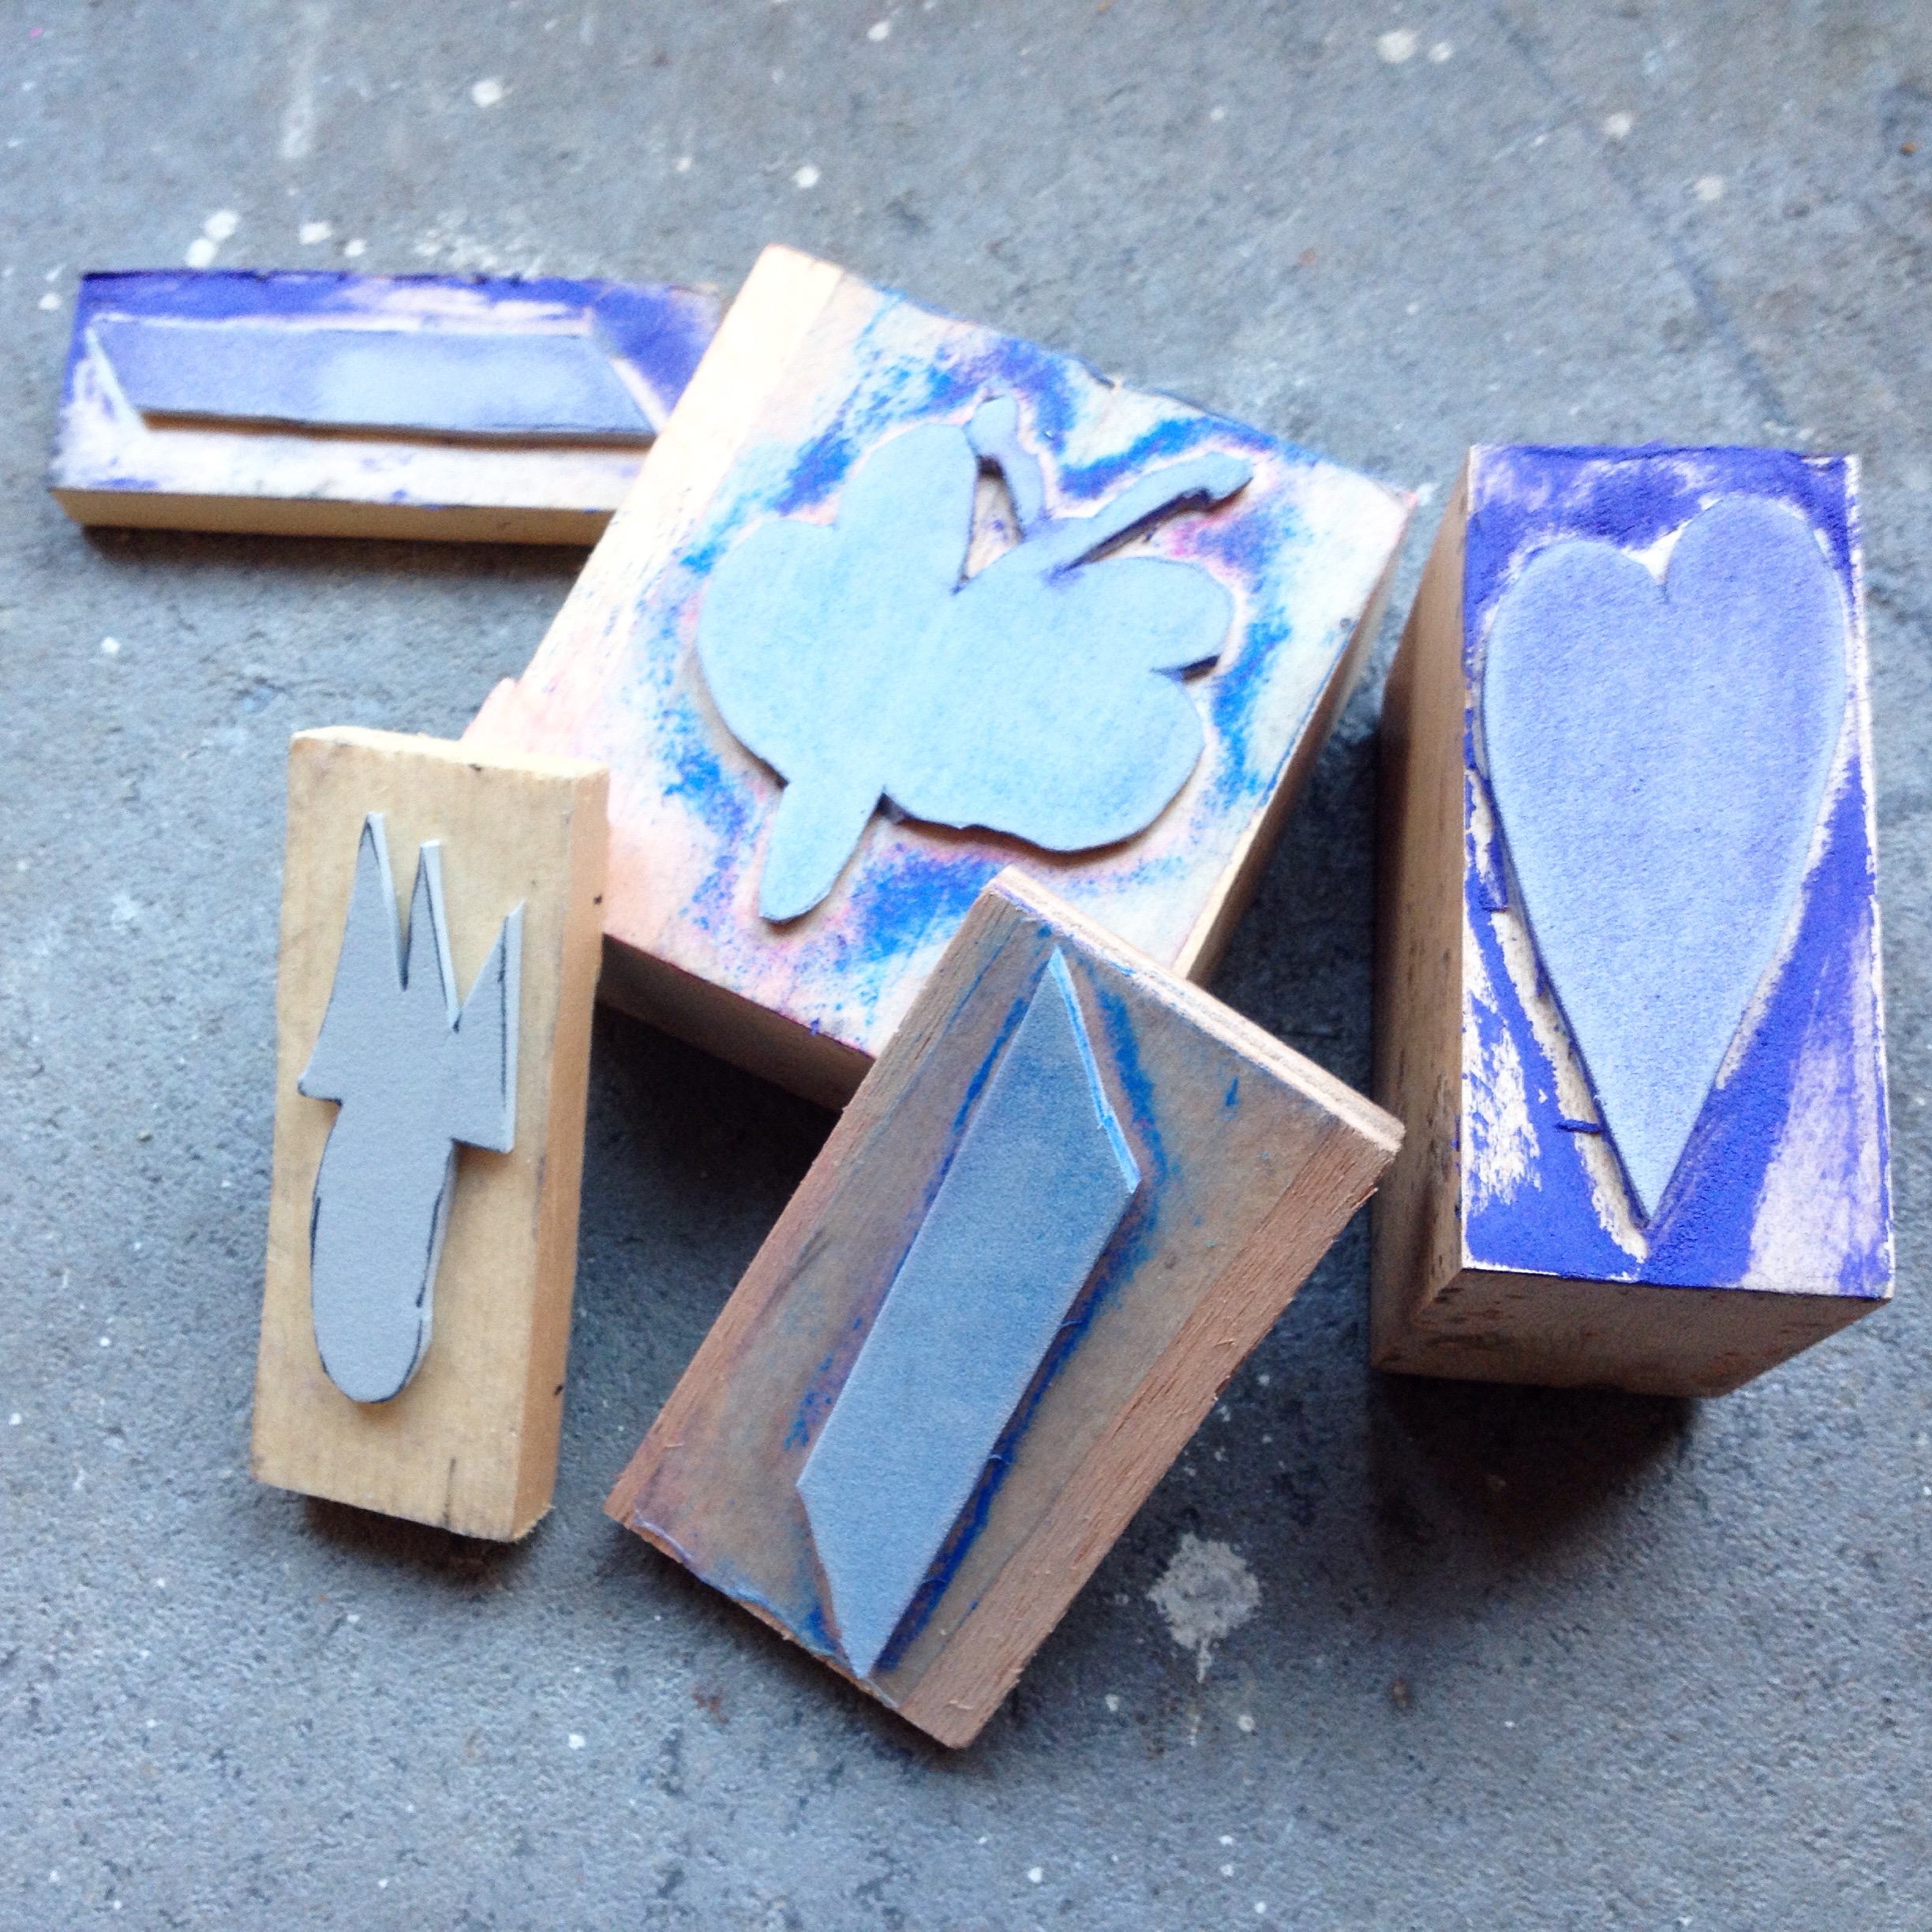
Use the pen & paper to draw simple figures.
– We made hearts, cutlery, geometric figures and a butterfly.
Cut out the figures and trace them onto the hobby foam
Cut out the foam figures and stick them with the double-sided tape on the blocks.
Now you got your stamp. Easypeasy!
Use the spray glue to get your fabric as flat as possible. If you want to hand stamp a t-shirt, spray glue a A4 paper and put it into the shirt. If you want to hand stamp fabric, spray a carton board (or something like that) and get the fabric as flat as possible.
If you know which garment you want to make from the fabric, you can trace the pattern pieces on the fabric so you know how the stamp placement will turn out.
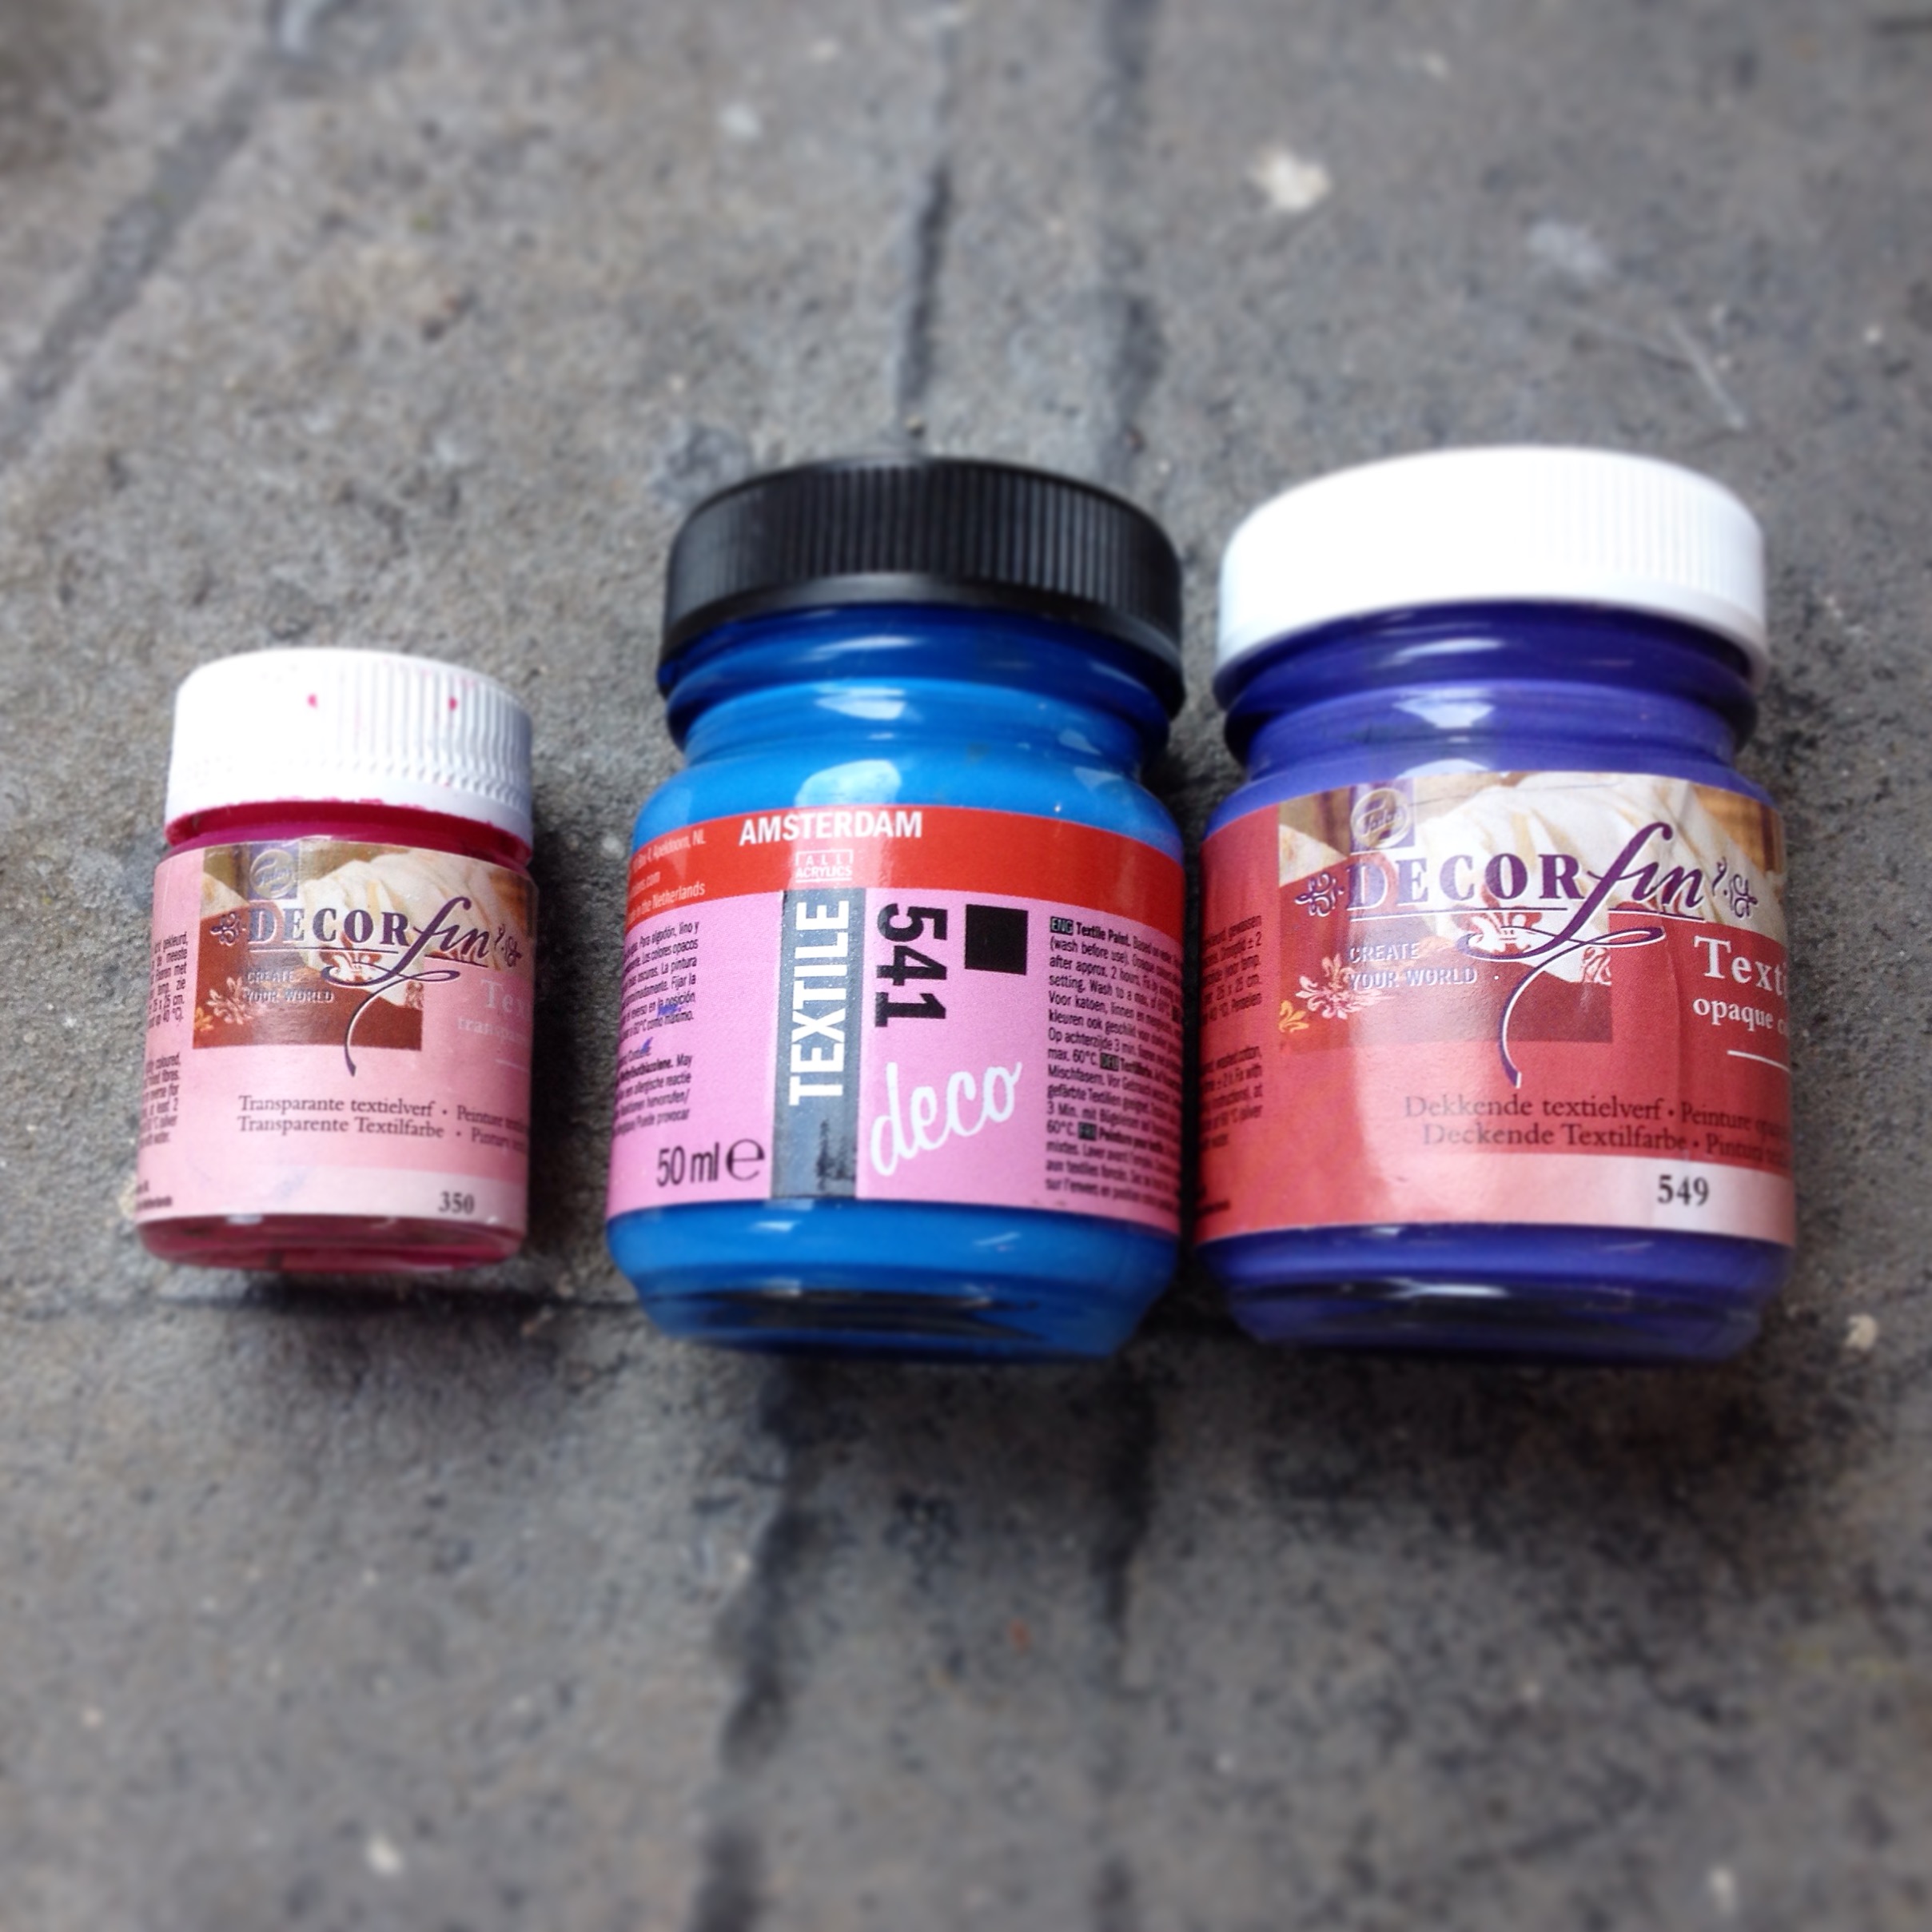 I used textile paint bought from Gerard Smit, a hobby and art supply shop in Haarlem. But I’m pretty sure you can get the paint online.
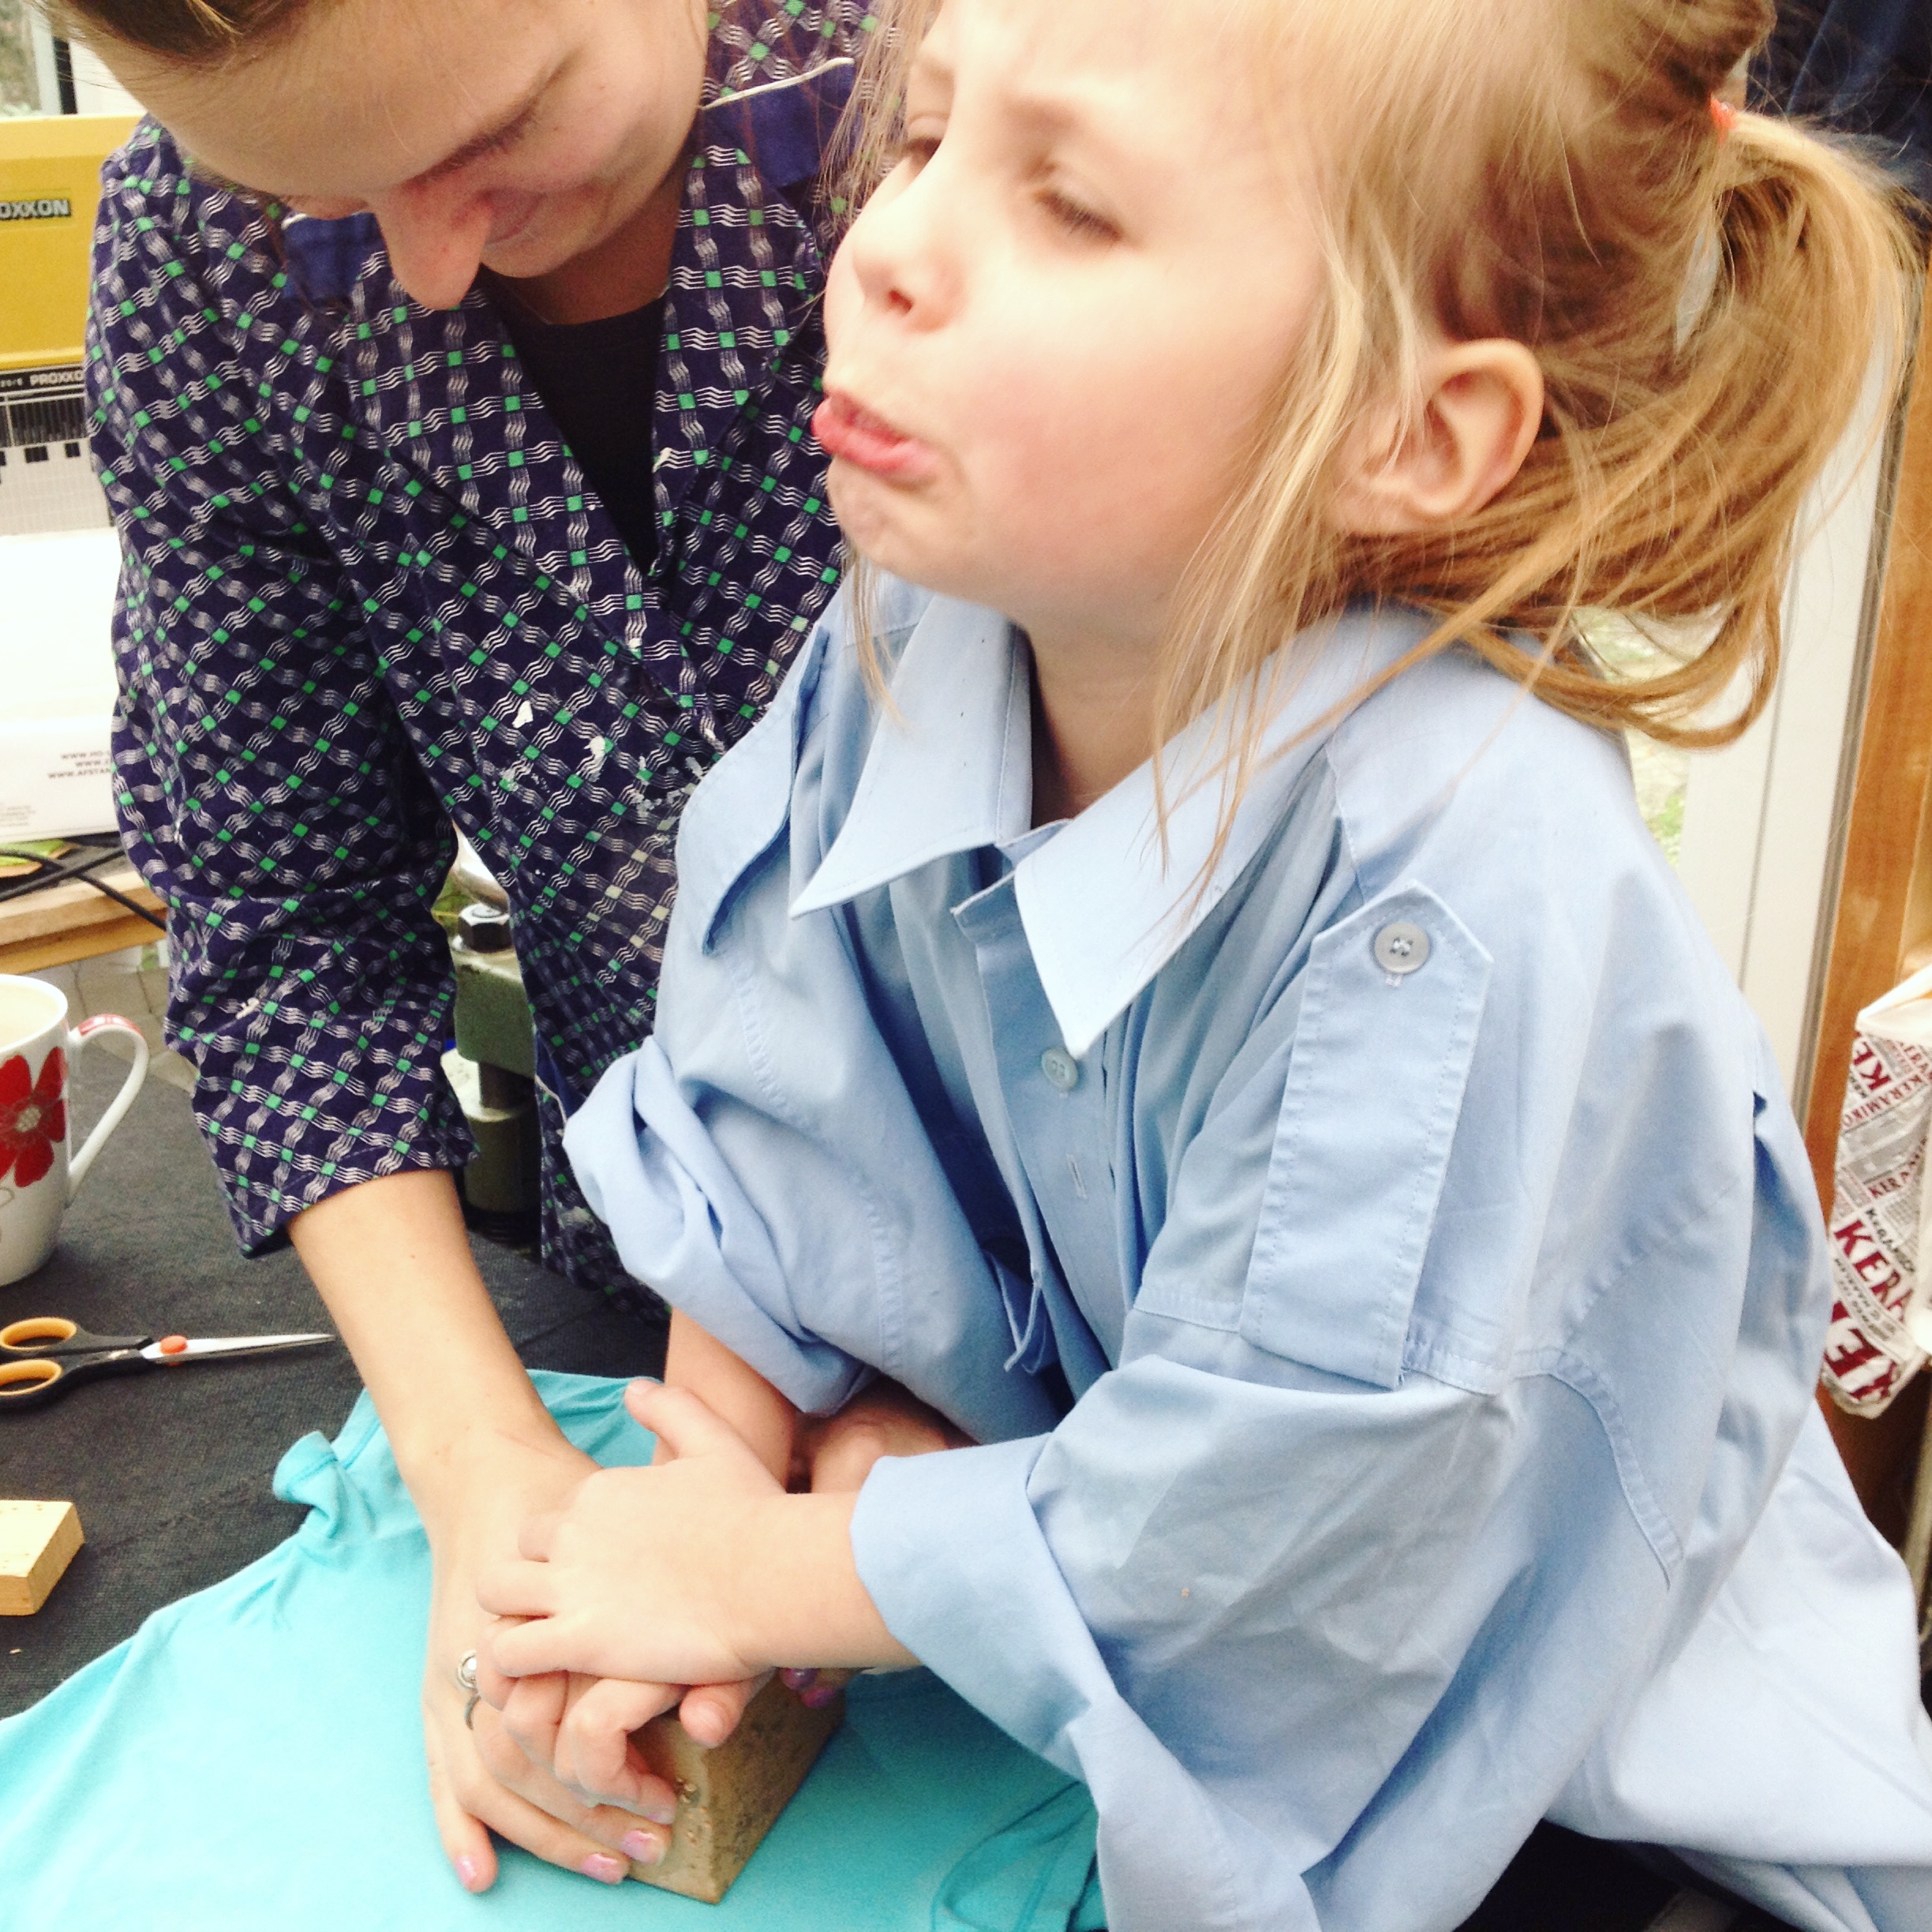
Roll the stamp with paint (not too thin, not too thick) and place the stamp on your fabric. Don’t move it, just push real hard on the stamp.
Yeah, push REALLY hard! 🙂
Make sure you press on the corners as much as in the middle.
Careful but firmly remove your stamp and repeat!
Leave it for a while to dry.
And iron the backside of the fabric to “seal” the paint and make sure it will stay put.
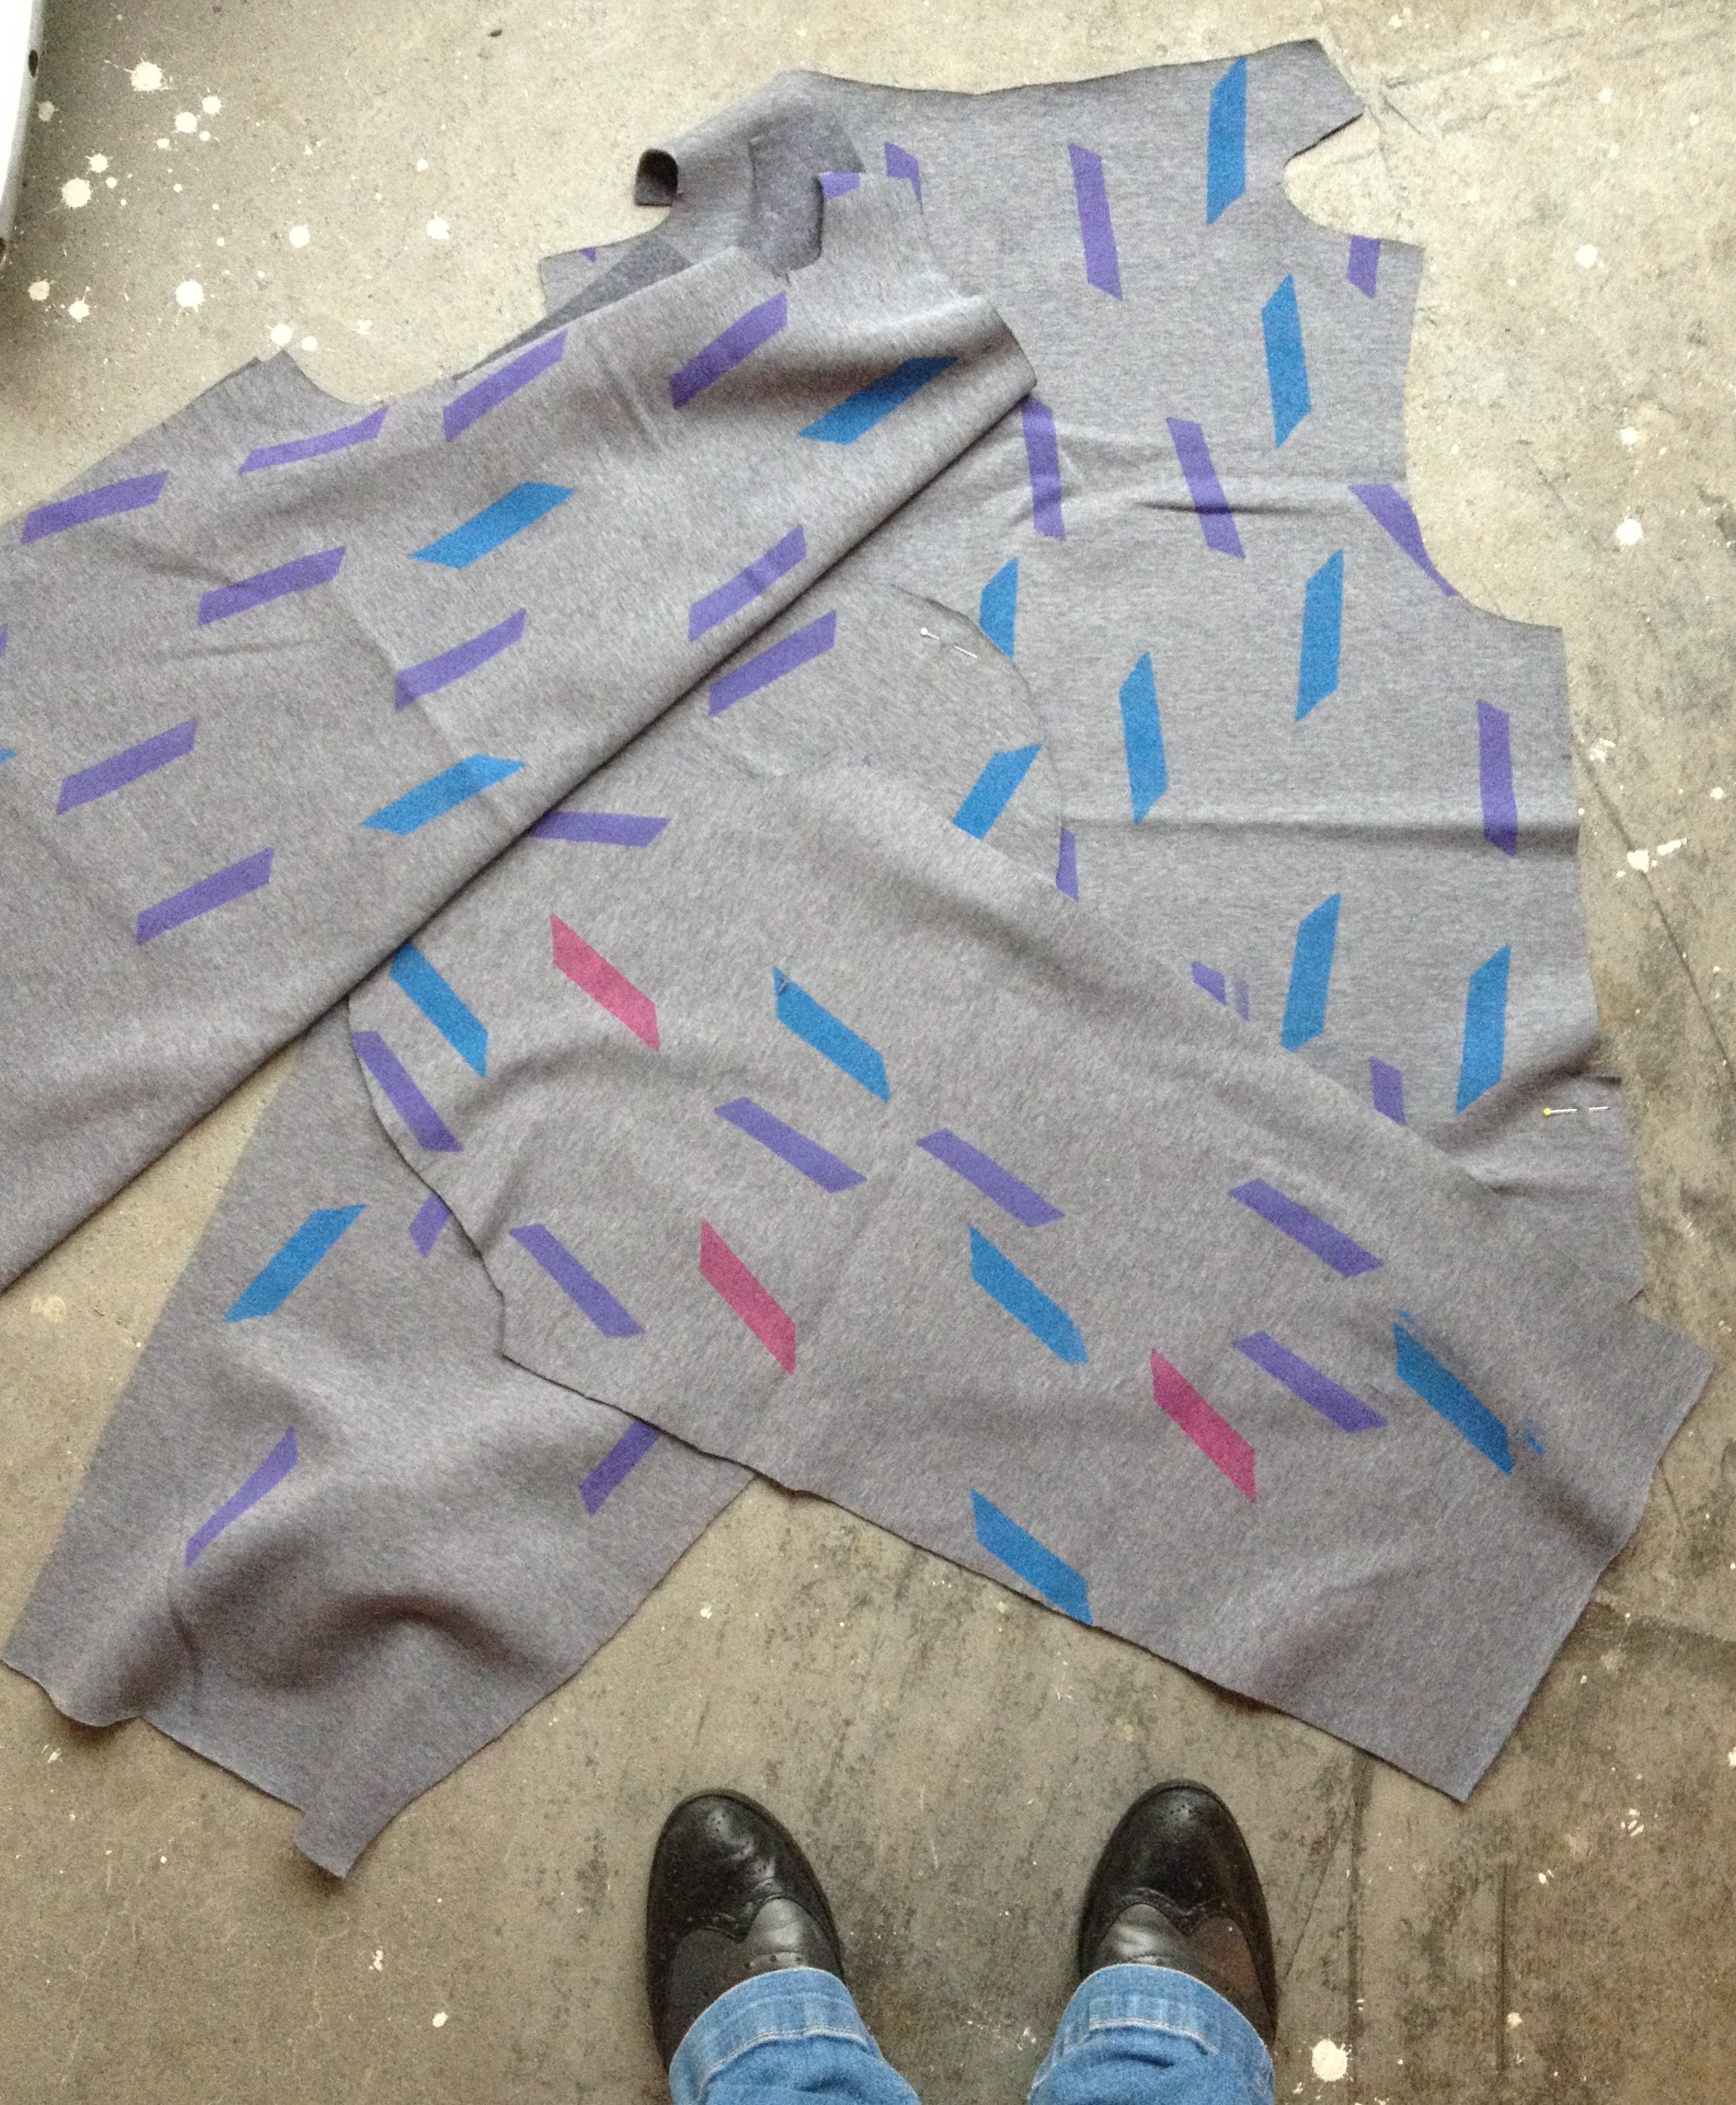
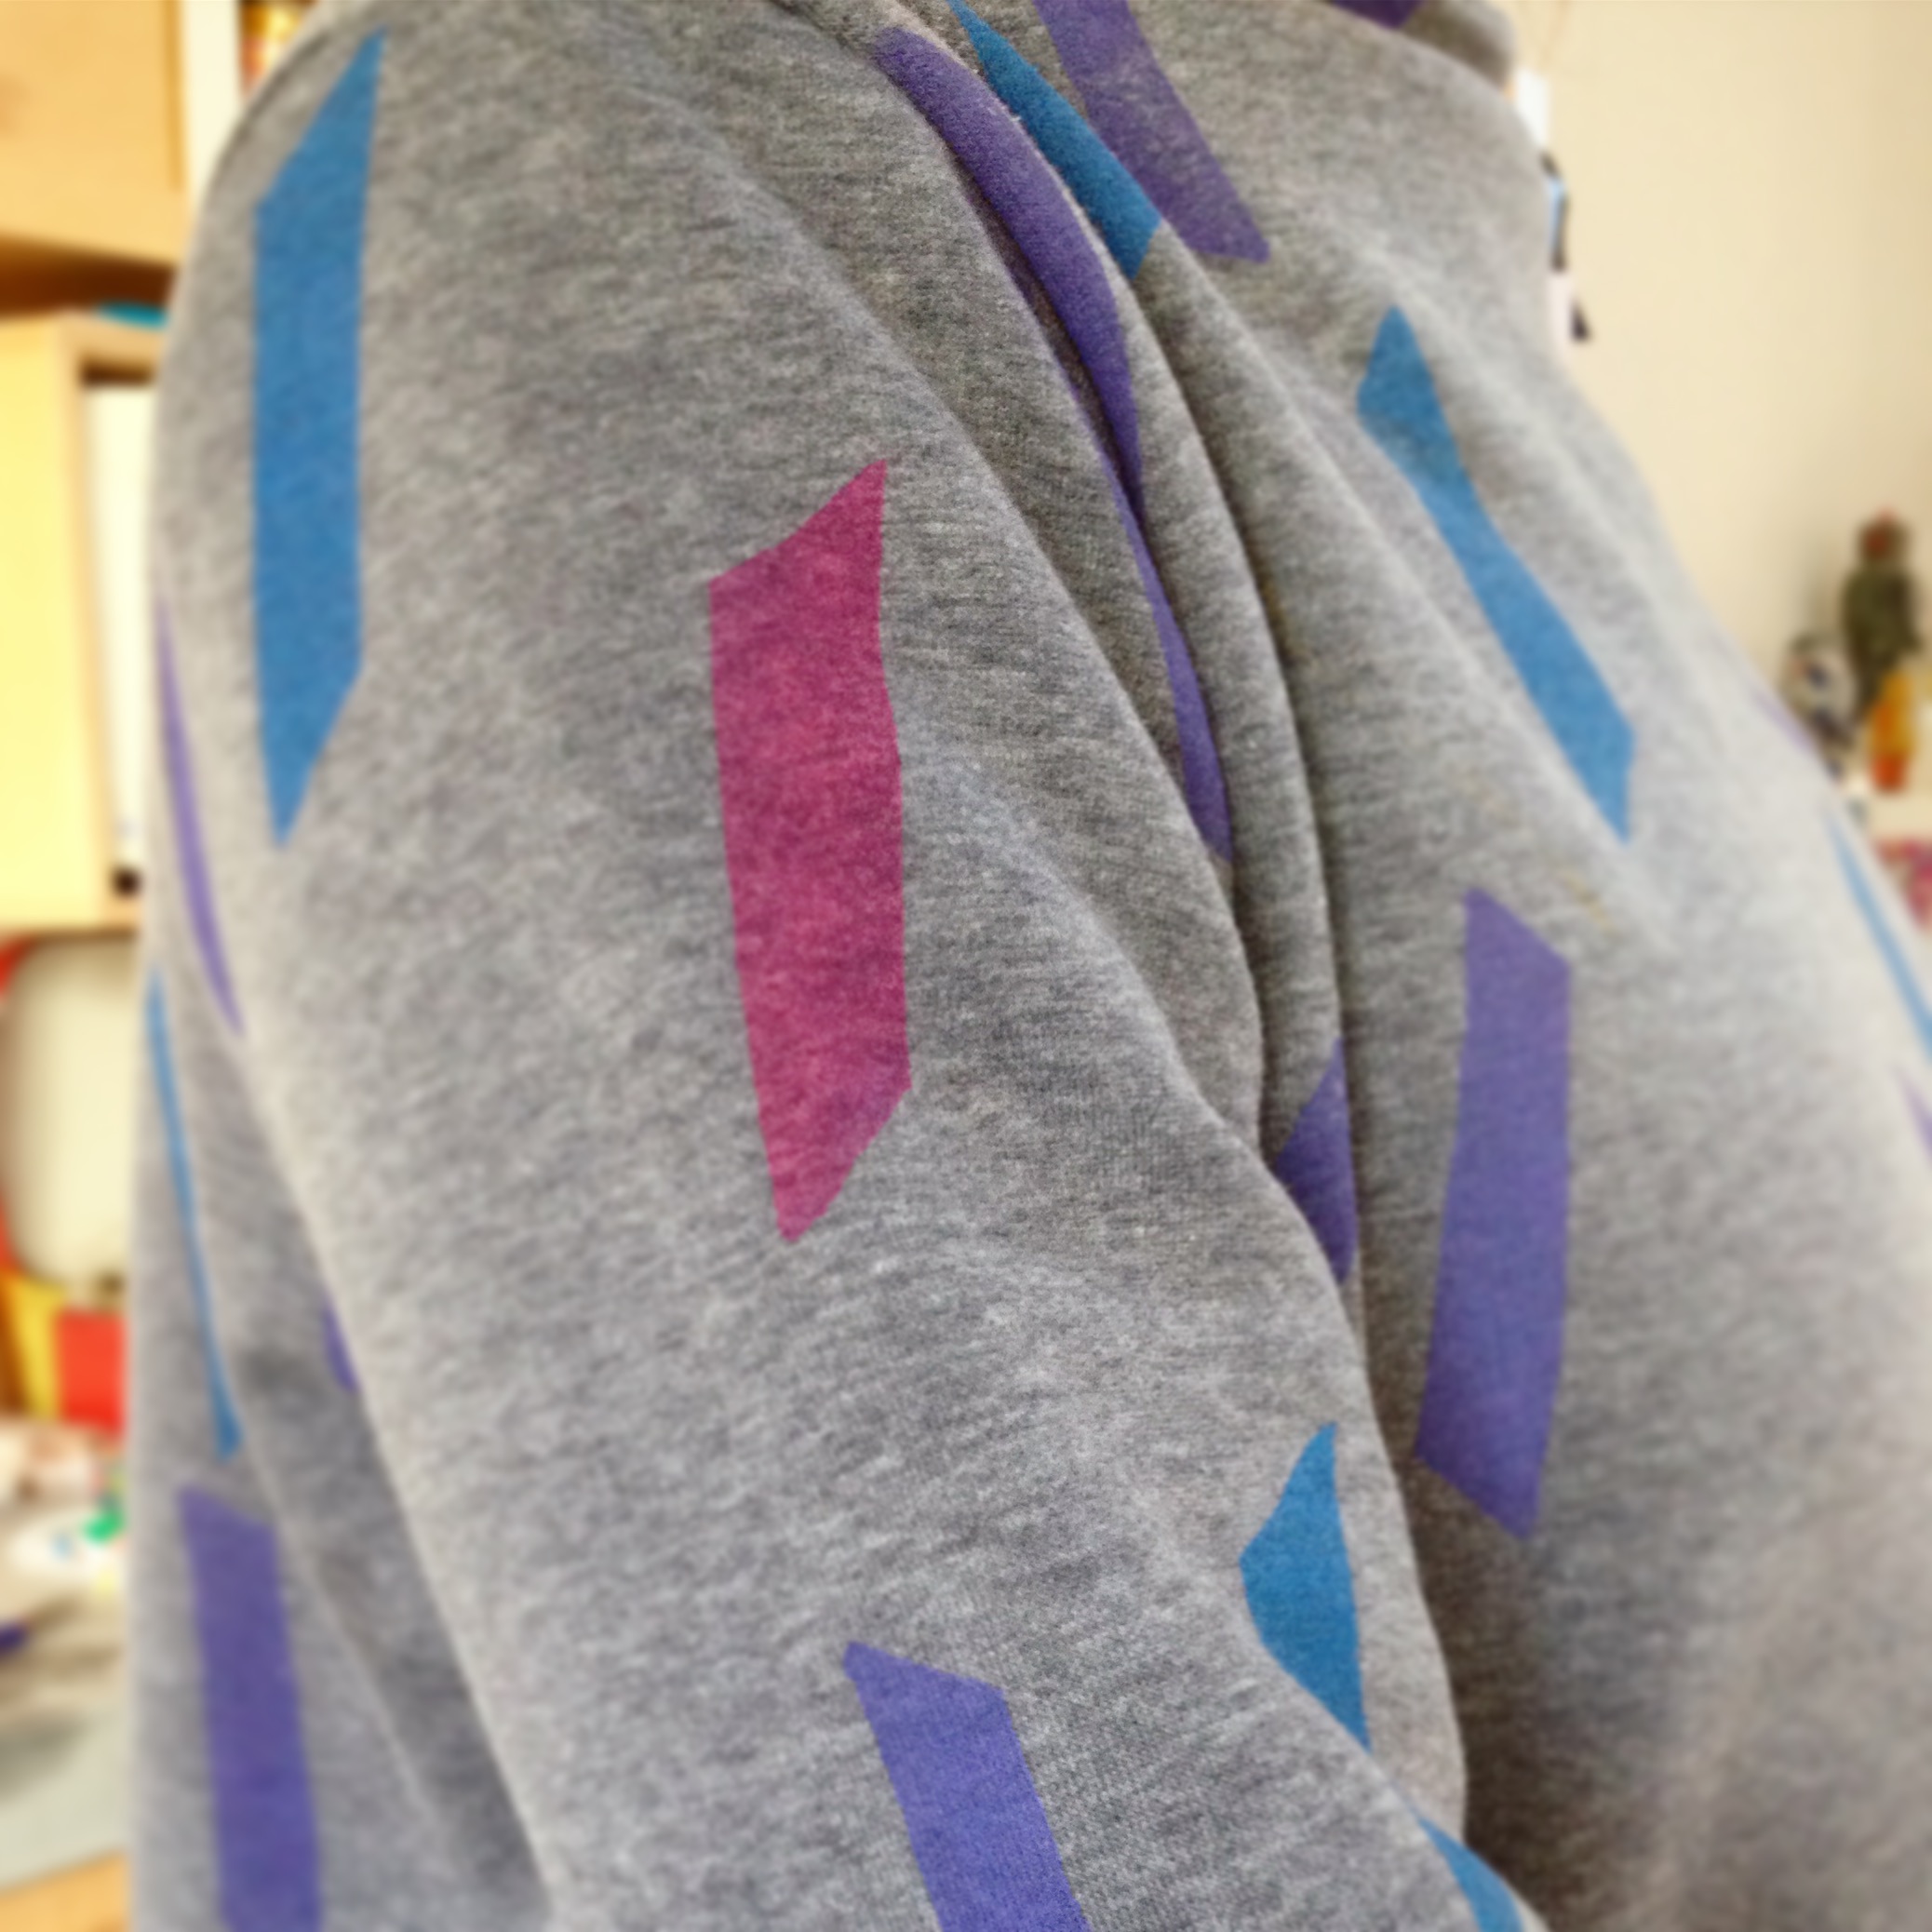
You can make borders for dresses, collars or accents on your clothing. I made the fabric for my #sewmystyle Toaster sweater #2, but also collars on the RTW shirts for Ieke and Ella en (hopefully) borders on the skirts of the dresses I will make for them.
I already made the Toaster Sweater 2 and I LOVE IT! Now to make some decent pictures to show the result. #tobecontinued
(this is not sponsored, the links are here to illustrate the kind of stuff I used for the stampmaking)